Building a Windows 11 VM With Qemu Using TPM Emulation, For Research & Malware Analysis Part 1(?)
Background
Recently, while experimenting with a particularly nasty piece of malware (BazarLoader) and some other infosec projects, it occurred to me that it would be very useful to have a virtual machine running the latest Windows release. The biggest reason is that fresh Windows releases are always full of new bugs and exploits, meaning there will certainly follow malware and CVE’s that specifically target Windows 11. These are the kinds of things I want to be able to see in action, first hand and in a controlled environment. I have also been thinking about creating a new VM specifically for malware analysis. My custom made Windows 7 VM for this purpose has been tweaked and retweaked to keep up with the times. but is starting to fall a little behind. This is a perfect chance to do some experimentation and migrate from VirtualBox to a more nuanced vitualization approach: Qemu. By the end of this article, you should be able to install Qemu, create a disk image for Windows 11, and boot Qemu without modifying the ISO or patching the installer to bypass the hardware compatibility checks.
Preparation
To start with, we will need some prerequisites. This entire process is written for and was tested on Ubuntu 21, so some variation will be necessary for non-Debian-based distributions.
To start with, we will need to obtain the latest Windows 11 installer image.

Scroll down about half way to the section that says, “Download Windows 11 Disk Image (ISO)”.

Change the drop-down menu to “Windows 11” (the only choice) and click “Download”. The web page will scroll down to center on a lower section where you will be prompted to select the product language:

Select ‘English’ and click the ‘Confirm’ button. This will reveal a download button for the appropriate disk image.

Click ‘64-bit Download’ to start the download. Save this file somewhere where you will able to find it, using the default file name (Win11_English_x64.iso).
While this is downloading, let’s get Qemu installed and set up. Here’s what we will need, all packaged in one convenient apt install command:
sudo apt-get install qemu ipxe-qemu qemu-kvm qemu-system qemu-system-common qemu-system-data qemu-system-misc qemu-utils libqcow-utils ovmf libtss2-esys-3.0.2–0 libtpms0 libtss2-esys-3.0.2–0 dh-autoreconf libssl-dev libtasn1–6-dev pkg-config libtpms-dev net-tools iproute2 libjson-glib-dev libgnutls28-dev expect gawk socat libseccomp-dev make -y
This will install Qemu and most of the related libraries and sub-systems we need for emulation and installing Windows 11.
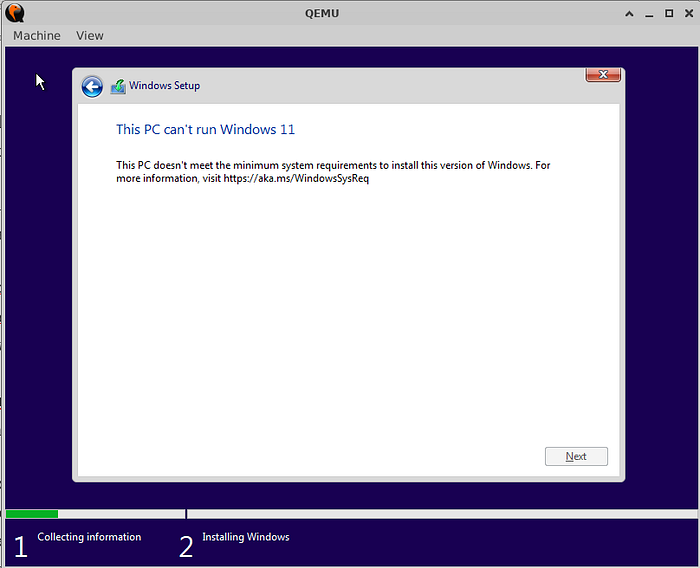
After this has completed, we need to address the TPM issue. If you did not already know, Windows 11 has fairly strict hardware requirements and halt the install with an error if those requirements are not met. The hardest of these requirements to meet is the need for an Intel TPM that the virtual machine can see and interact with. If the installer looks for and does not find a TPM available, the installer stops after choosing the Windows version:
To bypass this, we are going to use Stefan Berger’s outstanding piece of software, swtpm to emulate a TPM. It can be obtained from his Git repository at https://github.com/stefanberger/swtpm/
First, we will clone everything to a Qemu folder in our home directory:
mkdir Qemu
cd Qemu
git clone https://github.com/stefanberger/swtpm/
Now we will change directory into the swtpm folder and build it:
./autogen.sh — with-openssl — prefix=/usr
make -j4
make -j4 check
sudo make install
Now, barring any errors, were ready to come back and start our virtual TPM when the time comes. That means it’s time to get crafty with Qemu since we want our machine to be as resistant to sandbox detection as possible. We’ll start with creating our virtual disk for Windows 11. Again, from in the Qemu directory, we will run this:
qemu-img create -f qcow2 Win11.qcow2 128g
This uses the Qemu image tool to create a virtual disk, sized up to 128gb with the file name ‘Win11.qcow2’ in the venerable qcow2 format, which is ideal for what we are doing. Qemu-img will not allocate the full 128gb, so don’t panic about running out of disk space just yet. The disk will grow as data is written to it, just like with VMWare or VirtualBox.
Now that we have our target disk for the install, let’s look at the Qemu command to start the VM:
sudo qemu-system-x86_64 -cdrom /media/daniel/6563–3638/ISO/Win11_English_x64.iso -cpu Skylake-Client-v3 -enable-kvm -m 4096 — chardev socket,id=chrtpm,path=/tmp/emulated_tpm/swtpm-sock -tpmdev emulator,id=tpm0,chardev=chrtpm -device tpm-tis,tpmdev=tpm0 -smp 2 -device intel-hda -device hda-duplex -usb -nic user,ipv6=off,model=rtl8139,mac=84:1b:77:c9:03:a6 -bios /usr/share/ovmf/OVMF.fd -drive file=Win11.qcow2,format=qcow2
That’s a lot, so here it is line by line:
sudo qemu-system-x86_64
This is the Qemu emulation system we’ll be using: the 64-bit standard Intel architecture processor we all know and love. 32-bit systems are a thing of the past, so we don’t have to worry about malware refusing to run because it thinks we’re on a high-grade system versus a cheap home computer it may be targeting.
-cdrom /media/daniel/6563–3638/ISO/Win11_English_x64.iso
This is the location of our install image. You will need to change the path to match where you saved your downloaded Windows 11 ISO.
-cpu Skylake-Client-v3
This is the type of Intel CPU I chose to emulate. It’s well-supported in Qemu and is not old enough to be suspicious or out of Windows 11 support. You can see other processors available for emulation by running ‘sudo qemu-system-x86_64 -cpu ? | more’ if you are curious or feel like adapting these instructions.
-enable-kvm
This enables KVM full virtualization, a necessity for running the virtual machine at full speed.
-m 4096
This sets the virtual machine’s memory size to 4gb of RAM, the minimum for Windows 11. This can be increased as desired and as system resources allow.
— chardev socket,id=chrtpm,path=/tmp/emulated_tpm/swtpm-sock -tpmdev emulator,id=tpm0,chardev=chrtpm -device tpm-tis,tpmdev=tpm0
This is our TPM magic. This sets the location of our virtual TPM and other parameters. You can consult the wiki at https://github.com/stefanberger/swtpm/wiki for more details on other options, but these seem to work best.
-smp 2
This is to specify how many cores to assign to the VM. A minimum of two is necessary because a lot of malware gets suspicious and will not run on systems with only a single core. No desktop/laptop processor ships with a single core anymore and hasn’t for years.
-device intel-hda -device hda-duplex
This sets the sound card to be a standard Intel one, again to keep malware from getting suspicious about it.
-usb
This enables USB support for connecting devices, again for keeping up appearances.
-nic user,ipv6=off,model=rtl8139,mac=84:1b:77:c9:0a:a4
Here we are creating a realistic network card, instead of a generic virtual one, emulating the RTL8139 chipset and giving it a MAC address that is NOT identifiable as belonging to a Qemu system.
-bios /usr/share/ovmf/OVMF.fd
This is the location of the EFI information to make the system look modern, instead of based on old-school BIOS code. The location should be standard with the Qemu install, but could be different.
-drive file=Win11.qcow2,format=qcow2
Lastly, this is the location of the hard drive image we will be installing to.
Now we’re ready to go. Finally! In your termal, start a tmux session, so we can swap between virtual terminals, and let’s start the virtual TPM first:
sudo mkdir /tmp/emulated_tpm
sudo swtpm socket — tpmstate dir=/tmp/emulated_tpm \
— ctrl type=unixio,path=/tmp/emulated_tpm/swtpm-sock \
— log level=20 — tpm2
Now, open another terminal in tmux and we’re ready to launch our VM. Deep breath and GO!
sudo qemu-system-x86_64 \
-cdrom /media/xexyz/6563–3638/ISO/Win11_English_x64.iso \
-cpu Skylake-Client-v3 -enable-kvm -m 4096 \
— chardev socket,id=chrtpm,path=/tmp/emulated_tpm/swtpm-sock \
-tpmdev emulator,id=tpm0,chardev=chrtpm \
-device tpm-tis,tpmdev=tpm0 -smp 2 -device intel-hda \
-device hda-duplex -usb \
-nic user,ipv6=off,model=rtl8139,mac=84:1b:77:c9:03:a6 \
-bios /usr/share/ovmf/OVMF.fd \
-drive file=Win11.qcow2,format=qcow2
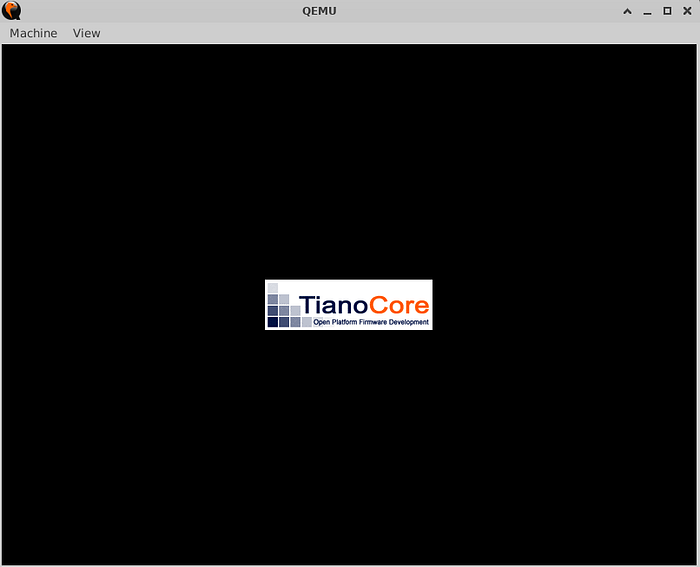
Booting from EFI:
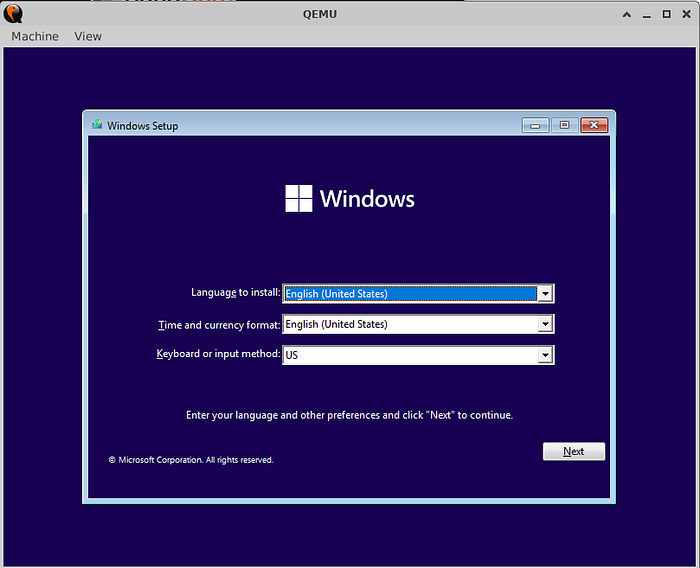
Starting the install:
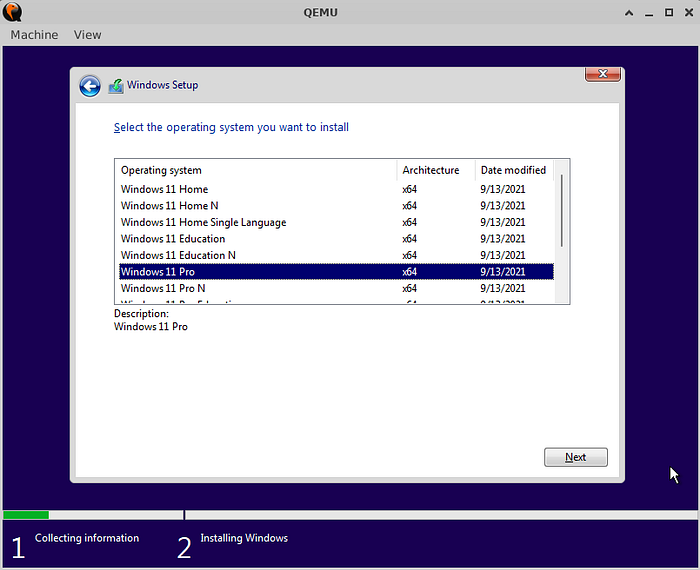
Select that you don’t have a license key and then choose Windows 11 Pro (not Windows Pro 11 N) and continue on.
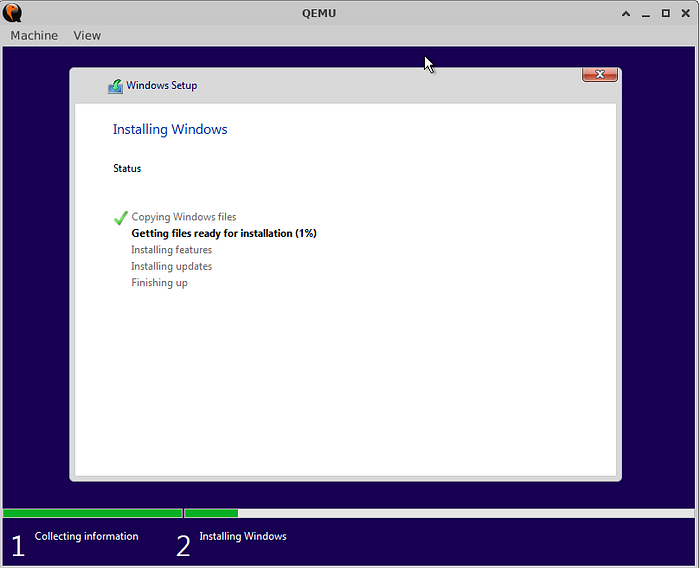
And here we are, past the error we got previously about the system not being compatible and well into the file copy portion of the install:
Conclusion:
There we go! Now you’ve got a Windows 11 install in a virtual machine without having to patch or modify the installer to skip past the hardware requirements, making it as genuine as possible! From here, it can be snapshotted and further modified/hardened for various infosec tasks. We can get into that in a future article, but for now, play around in Windows 11 and see what you can find. We’ll probably re-create the VM all over again next time, further modifying the creation process to suit us, so don’t worry if you blow it up.
I wrote this in an awful hurry, so if there are any mistakes, let me know and I’ll edit them in. If you have any questions, shoot me an email at macroform.node at gmail dot com or on LinkedIn at https://linkedin.com/in/daniel-s-655328150
